
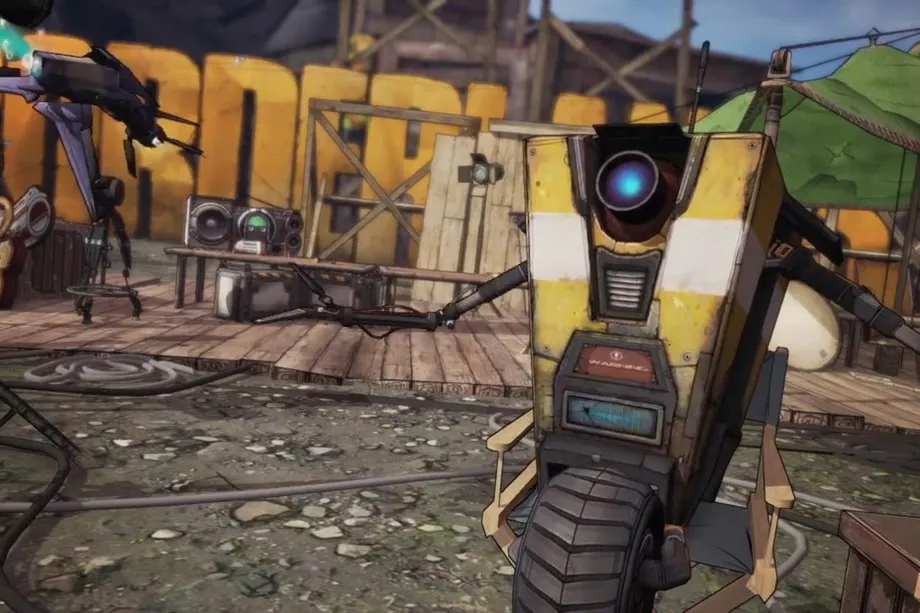
CL4P-TP (“You can call me Claptrap”) from Gearbox software’s Borderlands franchise is one of those characters that you can love one minute and be unloading a mountain of clips into the next. Our intrepid little bit of Hyperion hardware actual took home the 2012 Character Of the Year at Spike TV’s VGAs.
Destro2k has made a papercraft Claptrap that looks amazing. The process of creating the game-accurate model of a Claptrap out of paper is about as cool as the result.

Thanks to papercraft software like Pepakura Designer, you can “unfold” 3D models into printable papercraft projects complete with the object’s surface textures. Though I’m not sure about the actual origins of the 3D model Destro2k used, it’s possible to pull the actual models straight from games when playing the PC version of some games, or even on consoles if you’ve modded your system. Whether Destro2k’s model was straight from the game or not, it’s about as close as you can come to coming face to face with that little @#!t.
Wanting my very own Claptrap to join me on my travels, I bought some 110lbs card stock, a bottle of Elmers and a brand new set of Xacto blades. I had never done any papercraft before, so this “little” guy (he ends up being about 3ft tall) was probably a bit much for my first foray into the art, but was worth the effort.
The first thing I needed to do was rearrange the page layouts from Destro2k’s original
Pepakura file. The original file used A4 sized paper and since I only
had access to US Letter sized paper I needed to reorganize the parts to
fit the new dimensions of the paper. This also involved buying the full
version of Pepakura, so I could save the result once I went through the
work of rearranging it.

Next, and for the next 100 hours, I was cutting the gluing until I had my very own Claptrap. He assists in ringing in holidays while keeping an eye out for upper management, while sitting on top of my cubicle.
Having Pepakura up and running in front of me as I worked was indispensable since there are no real instructions for assembly. Destro2k provides a PDF along with his original files that walks through some of the troubles with the automatically generated parts, such as missing tabs, etc., but that alone won’t get you through the entire build.
I chose to build an armature up through the wheel and suspension attaching to a small plate of 3/8 MDF glued to the bottom of the inside of Claptrap’s body. The wheel and suspension itself was probably strong enough to support the body alone, but the armature allows claptrap to stand upright when attached to a small base. The base itself was some 3/4 MDF cut and sanded into a rounded shape, coated in epoxy and then covered in rocks and sand to look like the desert floor. Destro2k supported his Claptrap with glass rods at each corner of the body, but since I couldn’t find glass or clear plastic rods I went with the armature made of wooden dowels. I think that turned out looking better than a Claptrap perched atop some flying buttresses.
So if you decide to build one of your own from the US, I’ve included my modified Pepakura file for printing on US letter sized paper. Destro2k would probably be a better resource for papercraft questions, but I’ll try to answer any questions as well.
US Letter sized Claptrap Papercraft (opens with Pepakura Designer)
Thanks to Destro2k for his amazing work! Check out some of his other video game papercraft. They will leave you in awe. destro2k.deviantart.com